
Forbes found that 90% of consumers reported that videos influenced their purchasing decision. That doesn’t come as a surprise to me, and if you think about it, you’ve probably bought something yourself after seeing a video from a brand. Videos make a huge impression in a short space of time. So, imagine how much video marketing can boost your business, especially if it’s done well?
YOUR THREE KEY ELEMENTS – COPY, CAPTURE & CUT
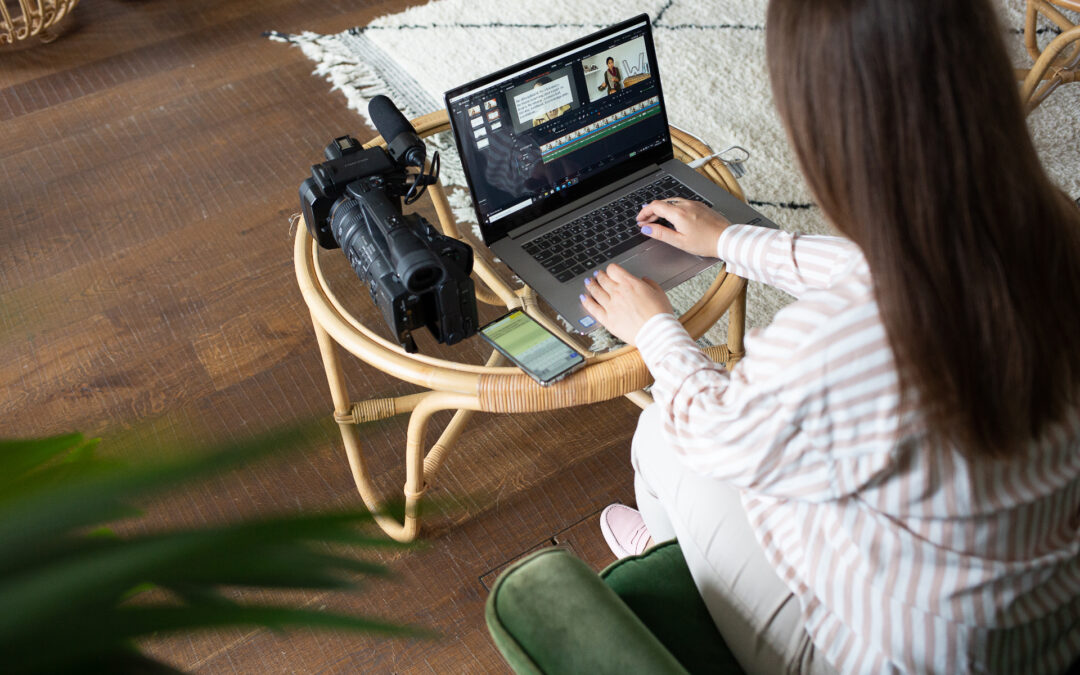
The three things to focus on when shooting videos on your mobile phone are Copy, Capture and Cut. In the first article of this series, I discussed the Copy of your video, which covered what you’re going to say in your video and how you need to prepare for your shoot. Article 2 was all about how to Capture your video in the right way, which focused on what happens when you’re in front of the camera. Today I’m going to cover the “Cut” element of creating good videos, which is what takes place after you’ve finished shooting.
WHAT HAPPENS IN THE “CUT”?
I have learned that the one thing, above all others, that prevents people from creating their own videos is the idea of editing. People think they need to learn how to edit before they have even created a video for social media. They won’t even try to film a video, because they let the thought of editing overwhelm them. I’ll let you in on a little secret – if you’ve nailed the copy and capture, then the cut is actually the least important!
You don’t have to master any app to create fancy videos if you simply want to share content on your social media. Of course, if you want to vary your content and introduce animated elements in your videos etc, then you need more know-how, but we’re focusing on videos for vlogging and social media, and the best idea for those is to keep it simple, but still create the right impact.
That’s why I advise three simple steps – “Film it, Trim it, Don’t Overdo it”.
FILM IT, TRIM IT, DON’T OVERDO IT
A) Film it
The ‘film it’ part is the most important; you can’t go back and fix what’s wrong once you’ve made your video. You can’t always edit your standing position, or totally remove the distractions that happened in the background, and there’s only so much you can do if the lighting is off.
In order to make the “cut” easier, you need to have covered the basics. As I mentioned in the last post, the capture of your video is the most critical part, and this remains true even when you come to edit it. If it hasn’t been done right, if it’s sloppy, then no amount of editing is going to remedy the finished product.
So, ensure that you master your message, your location and your lighting and you’ll make your own life easier. The whole point is that the less you have to edit, the more time you’ll have to create more videos, and the process becomes a lot smoother.
B) Trim it
When it comes to “Trim it”, this is the one bit of editing that I fully recommend and it’s very easy to do. What I mean is snipping the split seconds at the beginning and end of your video, just after you’ve pressed record and again when you move to switch the record button off. These moments are simply dead air and they are unnecessary. I’m not saying that you MUST cut them, but it’s easy to do so.
Let’s dispel a myth here – you don’t need any fancy video editing software to do this. Simply go into your video on your mobile phone and you’ll see that there’s an ‘edit’ button (‘edit’ in iPhone, pencil icon for Samsung and most Android phones), when you tap this, you can simply clip the beginning and end from the video and save it. It’s that easy!
Trimming the beginning and ending of the video are the only things I fully recommend when you’re creating your own social media or vlog video post.
C) Don’t overdo it
The last thing I advise is, don’t overdo it. Sometimes people feel confident about editing, and may even have downloaded an app to help. You may be able to add filters, change colours, make adjustments, insert different elements, but I would say, just because you can doesn’t mean you should. If you want to brighten it a bit with a filter to make it look less bland, ok, but truly, if the lighting is right in the first place, you won’t need this.
Personally, I rarely use filters, as they can look artificial, which will be off-putting for the viewer. Tons of text in different places, emoji icons, gifs are all very distracting… If that’s part of your brand, you might want to explore some of those, but when you just start out or it‘s the early days of your video making journey – really, keep it simple. Often less is more, as I might have mentioned already.
ADDING YOUR LOGO OR SUBTITLES
Perhaps you’d like to add your company logo, or some subtitles to your video? These certainly can add to your video, but remember that too much going on will just distract the viewer from what you are saying.
There are a variety of decent free apps available, or you can sign up to a free trial to play around with one and see how it suits you. I like InShot and VideoGuru among others, so I can recommend these to start with, but you can check what other users have said about other apps and find one suitable for you. Ratings on Apple Store and Google Play are usually quite accurate as to what the app is like and how well it performs.
WANT TO CREATE MORE PROFESSIONAL VIDEOS?
If you’ve followed this series, now you are equipped to produce your own videos that will work perfectly on social media or for vlogging. How about if you’d like to go further?
I run a 6-week course called Visibility Matters that takes you through not just the technical elements to creating great video, but also works through any psychological blocks that you may have around it and helps you build a solid strategy that works for YOUR business, not just a template to fill out. This signature course is perfect for business owners who want to improve their video marketing strategy and attract new customers. Receive guidance on creating your own video strategy and shoot at least 5 videos to use on your social media channels. Sign up here.
If you’d prefer one-to-one advice, simply book a free 15-minute consultation here.
Come back in two weeks for our next blog to learn more valuable tips and improve your video marketing.